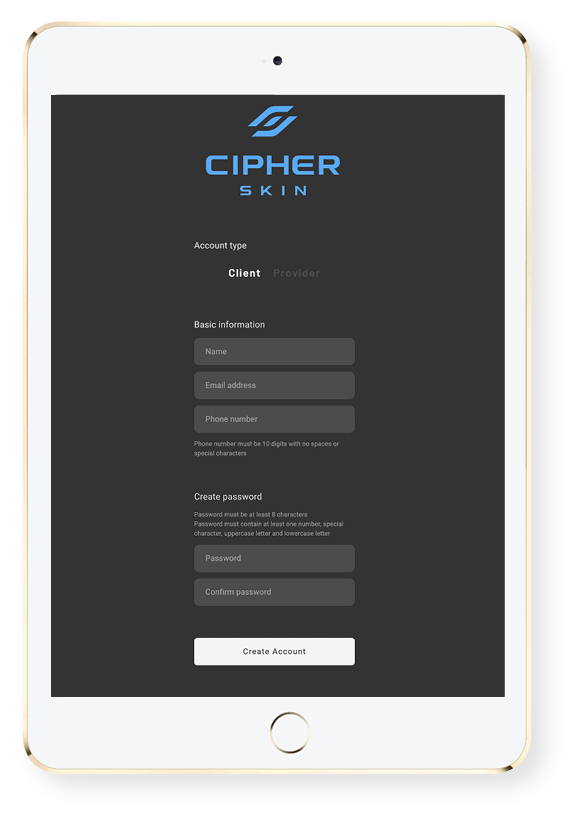
For iPad Users
1. Download the latest version of TestFlight from the App Store.
2. Request your Digital Mirror invitation by contacting support@cipherskin.com. To access, you must use the email address associated with your Apple ID.
3. Use the link from the invitation email to download the Digital Mirror app through TestFlight.
4. If TestFlight asks for a redeem code, please email us and we will send you a code promptly.
5. Open TestFlight and select the Digital Mirror.
6. Agree to push notifications from TestFlight This ensures the Digital Mirror app stays updated.
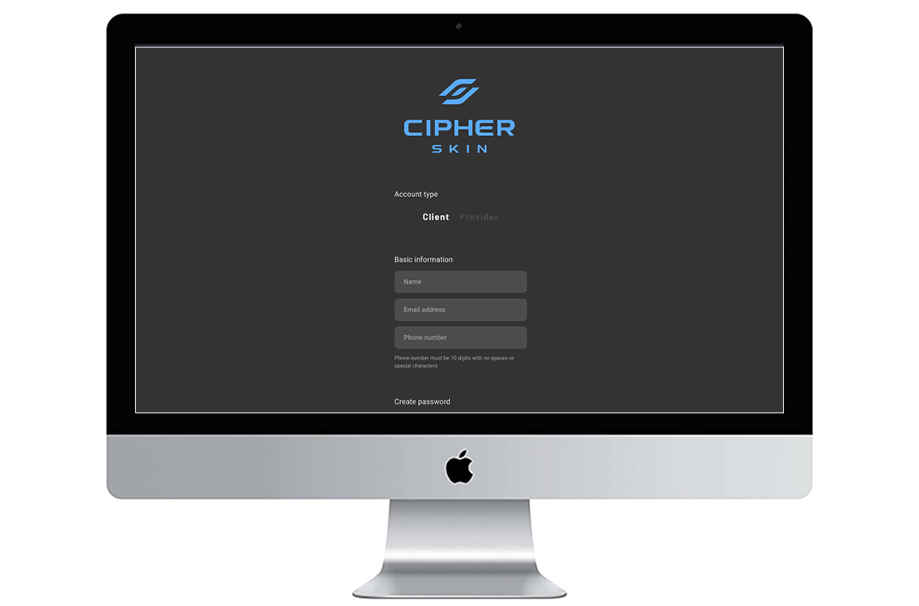
For Desktop/Laptop Users
Open your Chrome browser and navigate to https://cipherbody.com/
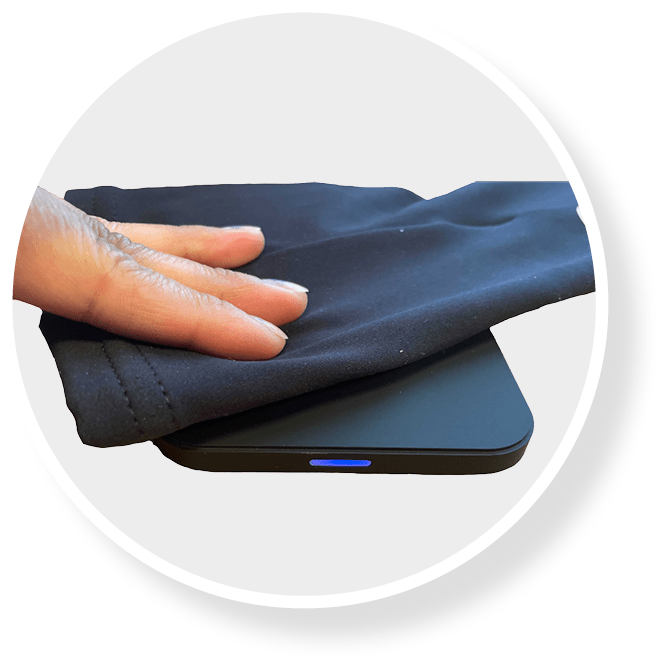

Each fully charged BioSleeve has a battery life of 8 hours, which can extend to one month when not in use and set to low-power mode. (If the battery loses charge, no data loss will occur. Cipher Skin continually remembers and stores the data it has collected.)

For wall adapters (not included) and USB ports, a 5V at 0.5 A minimum output is required. You can charge both sleeves simultaneously by purchasing a second universal Qi wireless charger found in most electronic and retail stores.
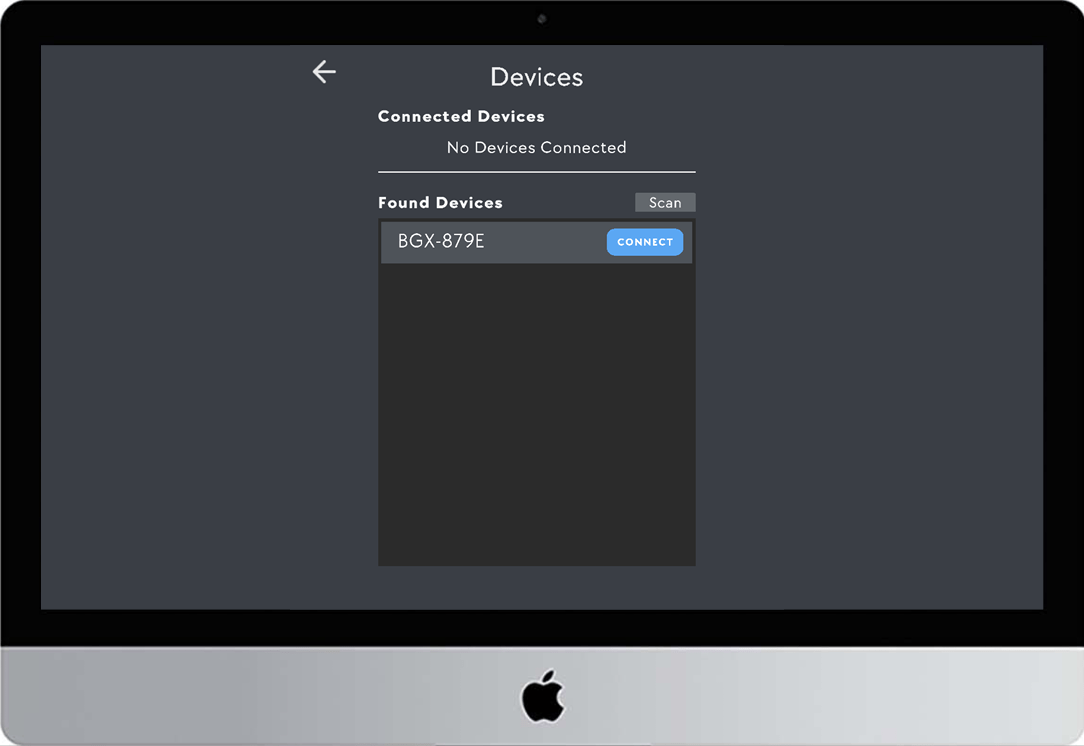
When your device(s) populate under “Found Devices”, select the “Connect” button next to the device number. IMPORTANT: The connection process only allows one BioSleeve to connect and calibrate at a time.
Next, you will receive a notification that the connection was successful. Note: If you do not receive this, please restart the app and try again.
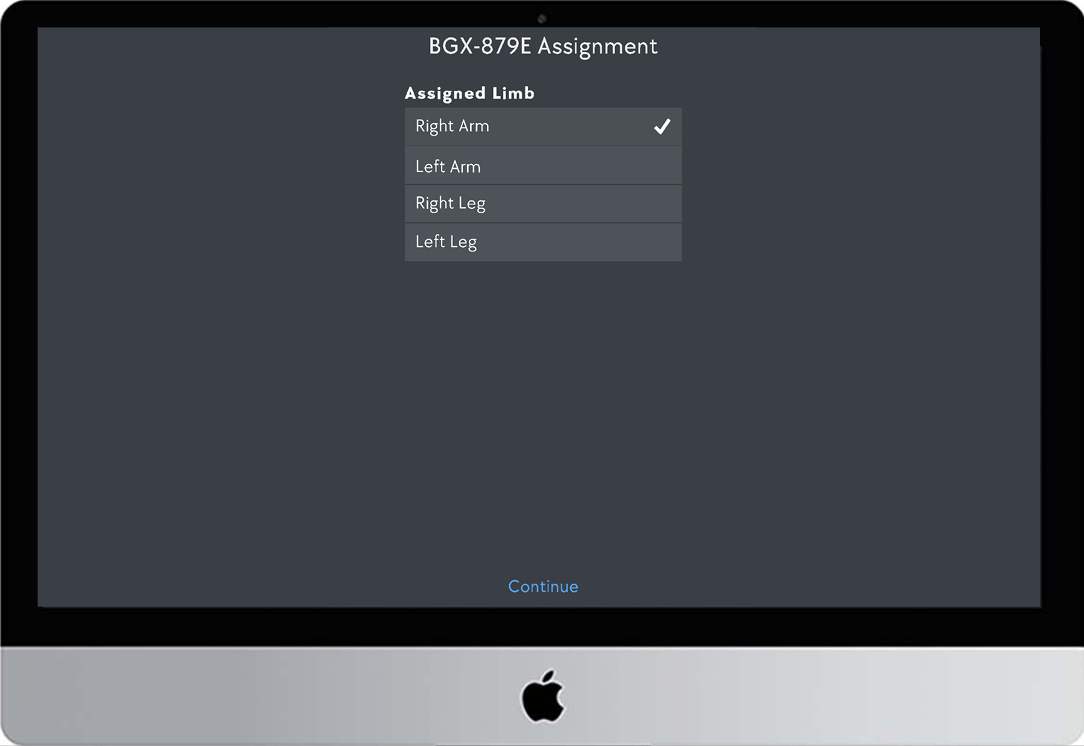
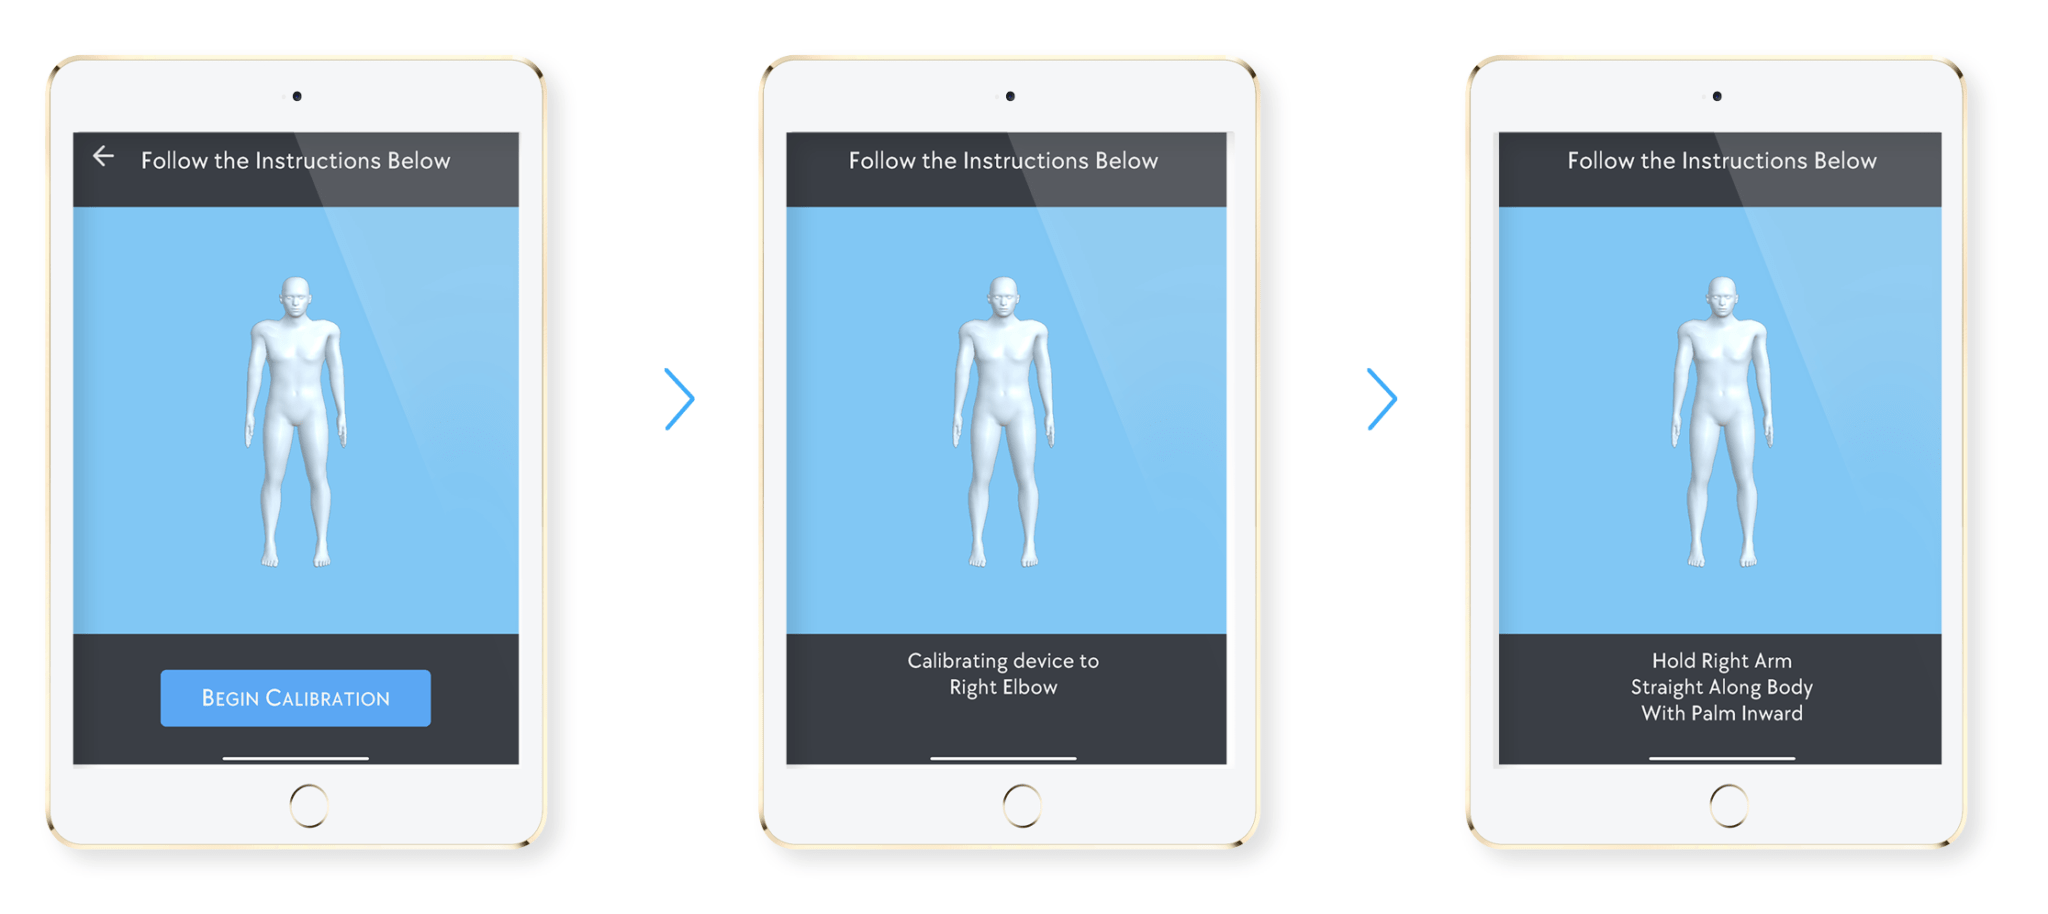
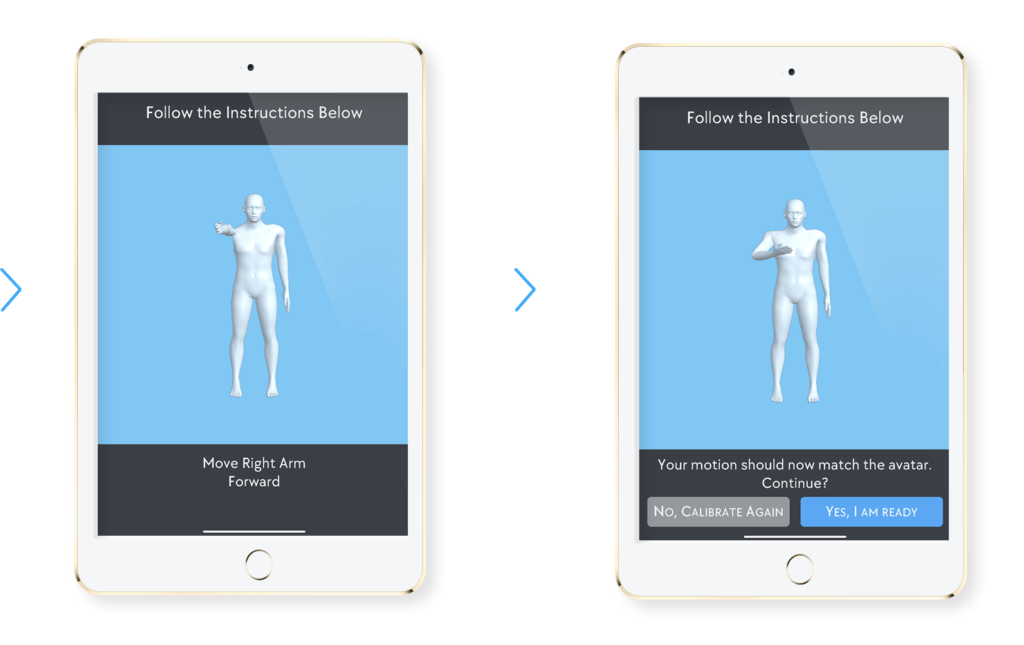
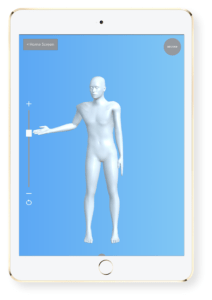
Next, you will need to calibrate the sleeve which will map the sleeve’s movement to the assigned limb. For this example, we use “Right Arm”
After the check mark appears next to the selected limb, select “Calibrate”

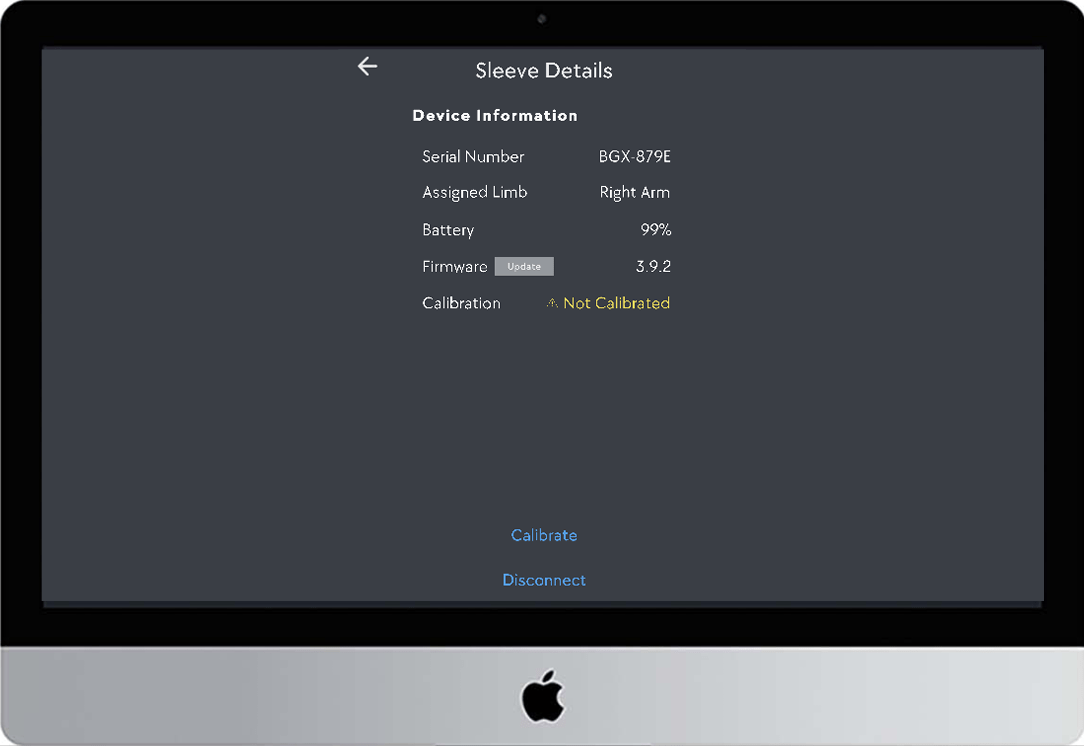
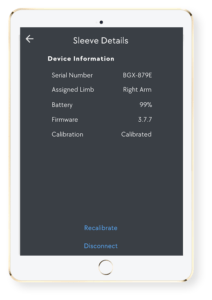
Devices allows you to view the battery life, calibration status, and other information about the BioSleeve. You may also choose to Recalibrate through this screen.
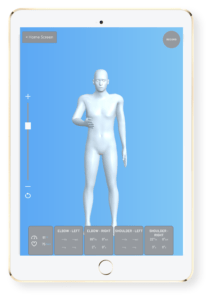
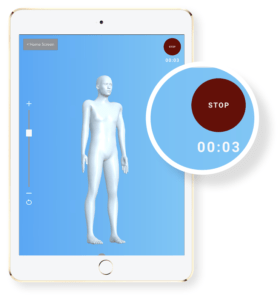
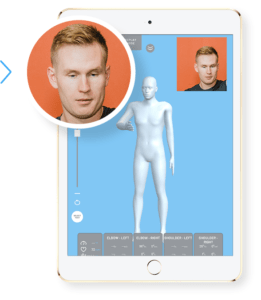
Free Motion mode can be used to record sessions that are viewable in Replay mode. View your avatar as it follows your movements in real time, while simultaneously viewing heart rate, oxygen saturation, and motion metrics.
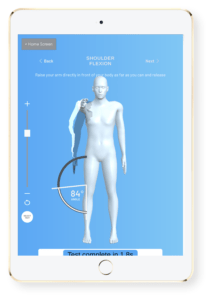
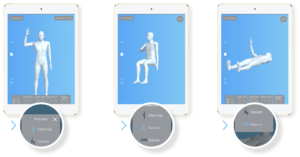
When in Test Mode, you can access the Range of Motion Tests included in the Digital Mirror. Select a test to learn what it evaluates and to perform it. After completing a test, choose “Save” to store the exercise.
- Replay allows you to view previously recorded sessions.
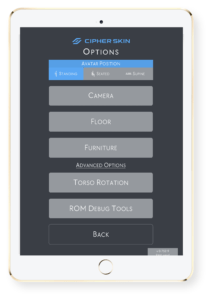
- Options provides a menu of other features including position, camera, torso rotation, and ROM debug tools.
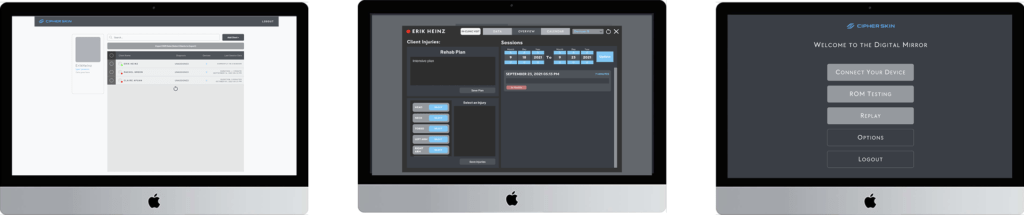
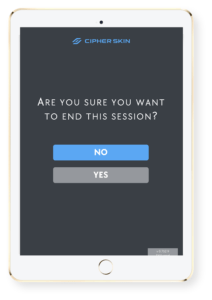
Selecting Dashboard will exit the Digital Mirror and return you to the provider view and dashboard of client information.
Record your movement and store associated data for future playback and evaluation by selecting the Record button. Recording can take place in either the Free Motion mode or when selecting “Save” when in Test Mode.
Positions that can be selected are sitting, standing, and supine (lying down on the back).
- The camera feature activates the device camera.
Enables torso movement.
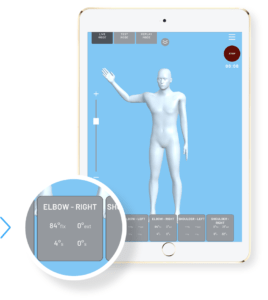
Metrics display motion metrics and biometrics in the cards below the avatar.
The top row of numbers display flexion and extension. The bottom row displays complete angular velocity.
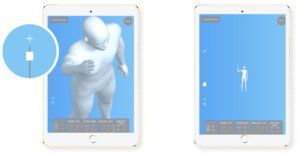
This feature allows for augmentation of the avatar. Use pinch and drag motions on your iPad to increase or decrease avatar size as well as rotate.
- FAQs
- System Requirements
- Launching the Digital Mirror
- Charging Your BioSleeves
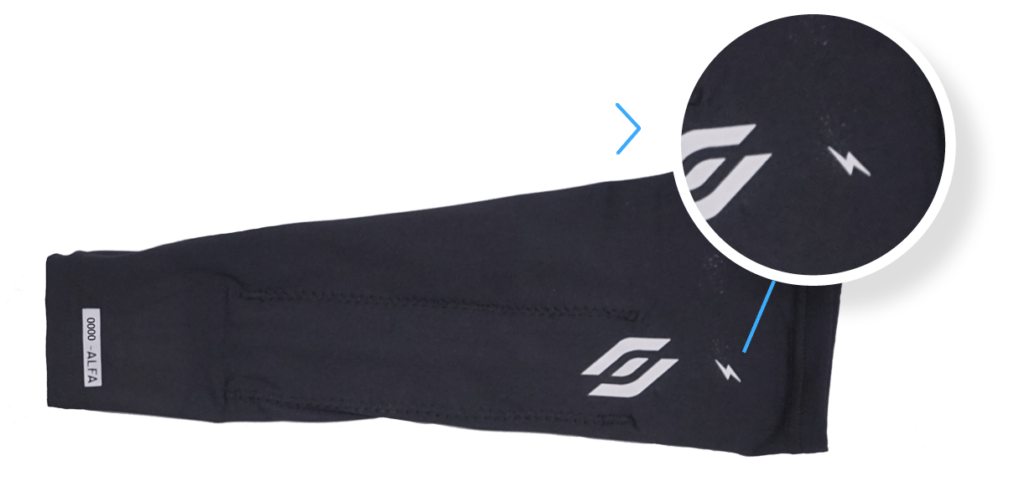
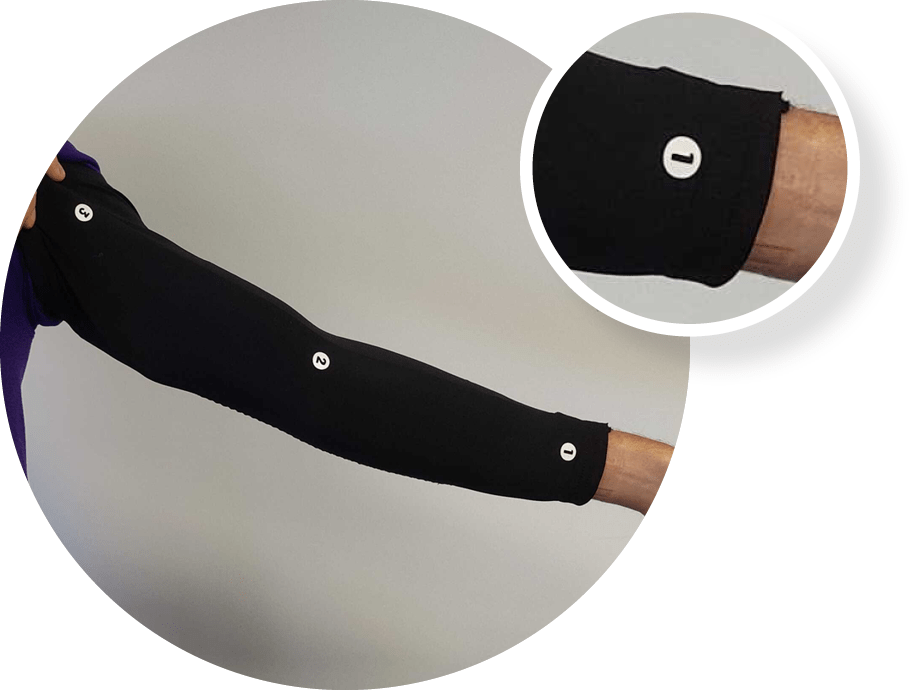
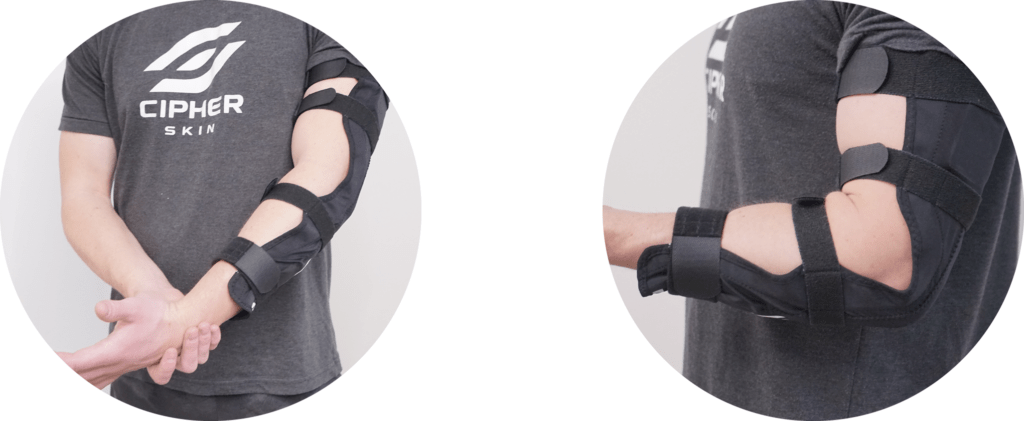
- Putting on the BioSleeves
- Connecting Your BioSleeves to the Digital Mirror
- Assigning Each BioSleeve to an Arm
- Using Your BioSleeves with the Digital Mirror
- Support Form